There
are a number of ways to mix images between layers. The most familiar of these is the opacity controls. It is, however, neither the only method nor the most powerful one. When
Selection or Navigation tool is active, value can be changed via keyboard
command:
single numbers change intervals of ten ( 1=10, 7=70) //// Two digits in quick
succession allow precise settings (7 7=77)
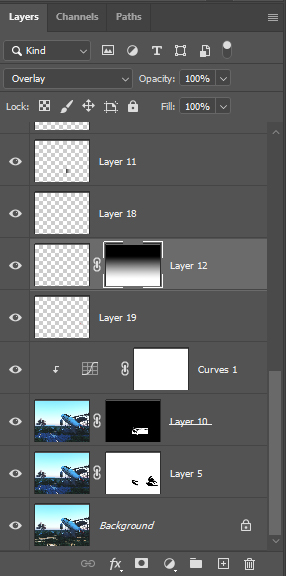
Layer Masks
Layer Blend Modes
Photoshop 6.0 introduced the Blend Modes panel that added a number of parameters, organized them ALL in one place. These tools offer a precise control of the blending of a pixel with the composite pixel below (every pixel in a straight line beneath it.) Controls offer the power of a mask, a filter, and a color map combined in a temporary (undoable) solution. Results are logical but unpredictable.
Some combinations may result in dramatic effects between the layered images while other combinations offer a much more subtle result. Experimentation is the cornerstone to mastering these tools.
Additional effects can be achieved by "sandwiching" multiple copies of the same layer, each with different blend modes active. Leaving the bottom clone set as Normal will maintain layer the opacity while the additional clones may change the appearance of the layer content significantly.
A useful technique is to add an Adjustment Layer and fill its mask with black, rendering it 0% effective. Painting white into the mask will aloow you to effectively *paint* the adjustment onto the layer selectively across the image.