Using Free Transform and Adjustment Layers: Levels
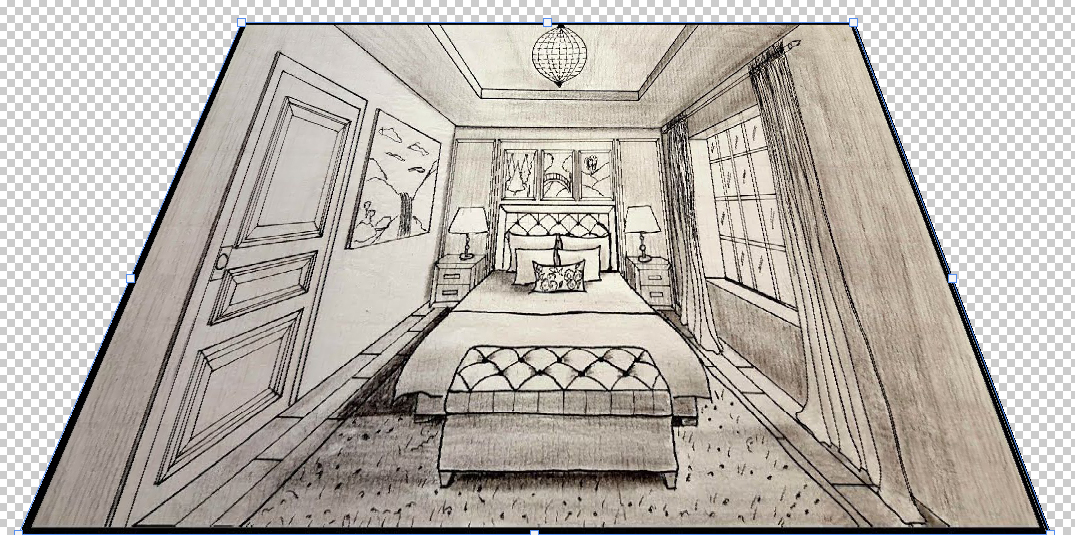
To clean up your storyboard images, you will often have to adjust the corners of the picture and rotate it into position. Use the Free Transform Tool, which can be accessed via the shortcut Ctrl-T. Pulling on any coner will scale the picture up or down. Ctrl-Dragging the corner will pull only that specific corner in or out. Positioning the cursor just outside any coner will bring up the Rotate function. Dragging any center handle will scale the picture uniformly, but using Shift-Drag will only scale in one axis. Once you are satisfied, hit Enter or Double-Click the image. Hit the Escape Key to canel the operation.
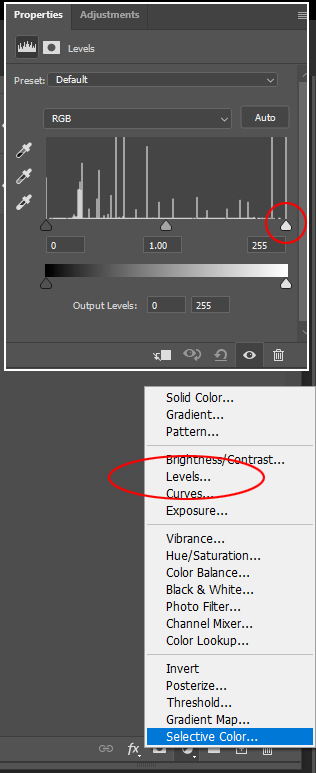
After you use the Free Transform Tool to rotate and unskew your storyboard, you can use the Levels Adjustment Layer to reduce any gray or uneven tone in the paper background. Adjustment Layers can be accessed via the 4th Icon at the bottom of the Layer Palette. When you choose Levels from the pop-up list, the controls show up directly above the Layer Palette. Use the righthand white arrow to adjust the white point. The middle gray arrow adjusts the balance between dark and lights. The far left arrow adjusts darks.