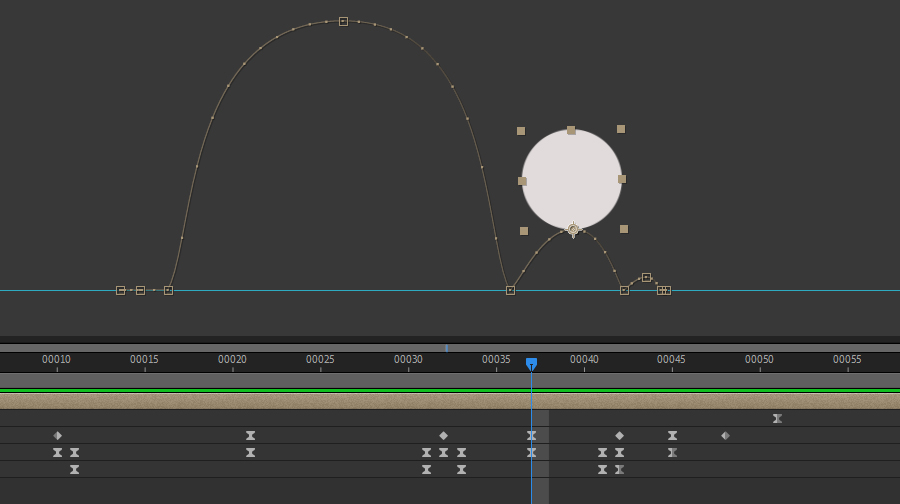
It is important to remember that in order to create an animation, you must move the Timeline Cursor before applying each new change in property. With this in mind, the correct sequence to animate your ball will be: a) adjust Timeline to be at the point you want your animation to begin, b) click the Stopwatch next to the Position Transform (you've now created your 1st keyframe), c) move the Timeline to where you want this portion of the animation to finish, d) change the position (a 2nd keyframe will appear.) From this point on, you only need to alernate between moving the Timeline and changing the position of the ball - keyframes will appear at each point in time where you have made those changes. After a keyframe is written, that keyframe itself can be slid along the timeline, resulting in a change to the speed of the event. You can also change the arc of the resulting Motion Path by clicking on the keyframe icon along the Path itself and adjust the two little handles that appear next to it. |