| Sky Islands |
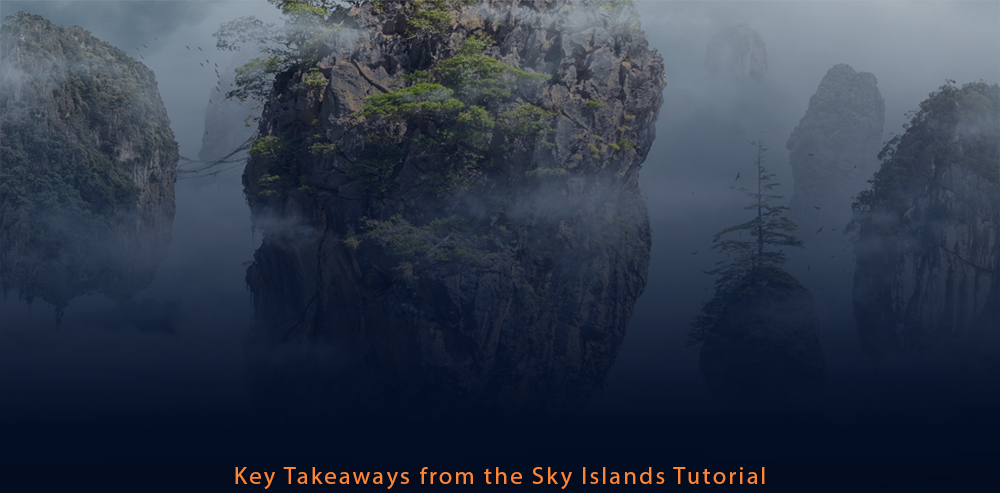 |
The PHLearn Pro Compositing tutorial has a number of useful technique and productivity skills woven into each chapter. Below is a list of takeaways to review and to engender discussion. Work in Values. Use the Crop Tool to enlage the canvas by eye. Use of Layer Masks. Use of Adjustment Layers. Use of Clipping Masks. Non-destructive editing. Gradient Masks. 02 - Cutting Out the Mountains Choice of Selection Tools. Define Light Direction early. Organize your project into Background, Mid-ground, and Foreground. Create a Custom Brush. Brush Settings (F5) Save to Brush Preset. Use Color Channels to define refined selections. Select and Mask. Size Jitter. Stroke Path. New Layer for each event. Clone Tool. ZOOM OUT. Clipping your adjustment layer to a group. Using Opacity and Flow to refine your brush. Overlay Blend Mode on a Brush paints around the lightest areas of your layer 10 - Color Tone and Dodge and Burn Use Hue and Saturation Blend Modes on a Check Layers Solid to understand the opposite property (i.e. Hue reveals Saturation etc). Fill a Layer Mask with black and "paint" using white brush to reveal very specific regions only.
|