To understand how Photoshop thinks, we will first study the use of Layers within a Photoshop document. Adobe introduced Layers into Photoshop in version 3.0. It revolutionized image editing. Keep in mind that you should generally pre-plan your files so you will have one image element per layer. This allows you to manipulate them independently of each other.
The layer palette organizes the layers of a Photoshop file with the top layer being the highest in the stack and the closest to the viewer. Changes in opacity and "blend-mode" may allow details from the lower layers to bleed through elements on the upper layer.
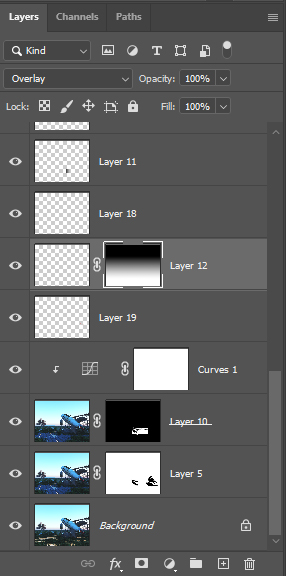
The gray and white checkered background indicates that areas of the layer are fully transparent through to the layers below.
For purposes of editing, only one layer can be active at a time - it is highlighted in light gray. Turning the eye icon off will render a layer's contents invisible.
A folder icon indicates that there is a Layer Group that contains two or more layers. Each layer remains editable, while the group function allows certain operations to effect the whole collection as one.
A "T" in the thumbnail window indicates the layer contains a text object. Text objects can be edited by double-clicking the thumbnail.
The icons along the bottom of the Layers Palette, left to right, are:
a) Layer Linking (allowing multiple layers to be transformed as a unit)
b) Layer Styles - a collection of shortcuts to common looks, such as drop shadow
c) Layer Mask - adds an opacity mask to layer. Painting areas gray to black will create a range of transparency.
d) Adjustment Layers -highly useful method to place image adjustments into the Layer Stack so that only a targeted collection of layers are modified. NOTE: By default all layers below Adjustment Layer are effected. Adding a Clipping Mask tagets only the layer directly below.
The remaining icons are New Group and New Layer and Trash respectively.