RENDERING
To render a Comp, highlight the Comp window or Timeline within your project and hit the shortcut CTRL + M. The Render Queue window opens and temporarily covers the Timeline tab. Here you will see three links in hot blue. It is there that you modify the various settings for each render.
If you are planning to render only a short section of the project or change the render to half-size, adjust these settings via the Best Settings link. Be sure to always check in on these parameters. As we sometimes leave the "current setting" to a lower quality render, you should always set to Best for the final output.
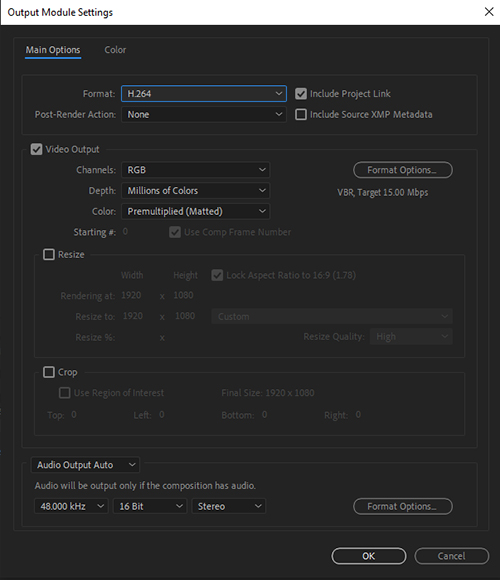
Click on the blue Lossless next to OUTPUT MODULE. In the Output Module settings, change the FORMAT to H.264.
The last change you must make is to review the file name in the Output_To location.
You are now ready to hit the RENDER button (on far right of render queue) and await the results. After rendering is finished, AE will sound a chime (watch your headphone volume!) Double click the new file to view. Sometimes the movie will play back a bit jerky the first time through. This can be especially true of full res video with embedded audio. Allow playback to finish and watch a second time to get a better sense of the true playback quality and speed.