Audio Reactors |
Audio Reactors |
|
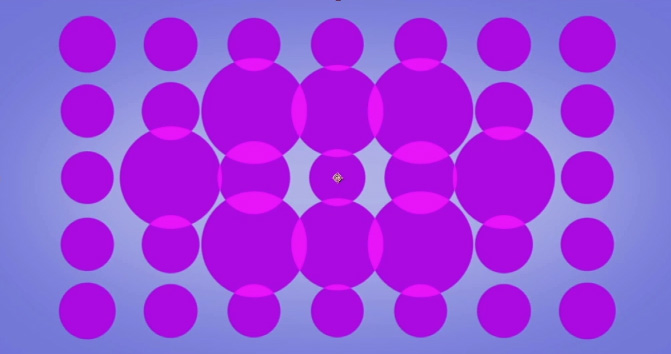
1) Download this ZIP and extract wave files onto your hard drive. Create new project in AE and import all audio files. 2) Create a composition with a size of 1024 x 540 and a duration of 20 seconds. Change background color to #8A9BF2. 3) Import the audio track reactor-beats into the comp. 4) Create a new solid layer at full comp size. 5) Apply Trapcode Form to the layer. 6) In the Form Effects Controls settings, twirl down the Base Form and make these changes: 7) In Particle (Master) change the Sphere Feather=0, Size=40, and color to #9A17E5. 8) Preview scene and confirm there is no animation. 9) In Audio React, Change the Audio Layer to point to the Wav file you placed in the comp. 10) Twirl down Reactor 1 and change Map To=Particle Size. 11) Preview video. 12) Choose a point in Timeline where there is strong reaction and adjust the Strength setting of Reator 1 to see how toning down and push up the effect will alter the result. Preview. 13) With a section of strong reaction dialed in, open up Particle (Master) and change the Blend Mode to Add. Repeat 12) 14) In Reactor 1, change the Delay Max value to 1. Preview. Change the Delay Direction setting to Outwards. Preview. 15) Adjust the Threshold to 50 to reduce movement. 16) Twirl down Reactor 2 and change the frequency=7000, and Map To=Disperse. 18) Twirl down Disperse and change Disperse=100. Preview. 19) Play with Strength settings to taste. Here is a recording of this lesson from 2020 for those who want or need to review. |